Shopify Menu
Edit: This setting has now moved to Content > Menus. The steps remain the same, although your version might look slightly different.
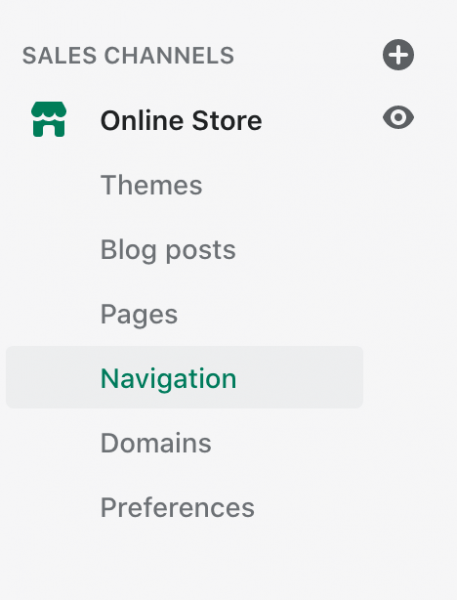
While in your dashboard, go to Online Store > Navigation.
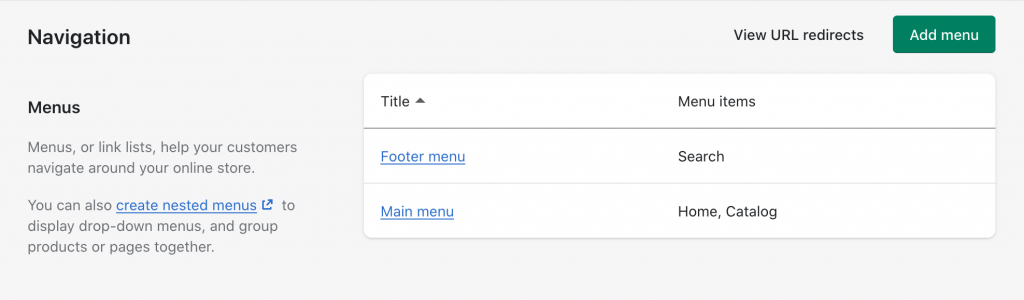
In the top right-hand corner, click “Add Menu” if you want to create a new menu, or click on one of the existing menus if you simply want to edit an existing menu.
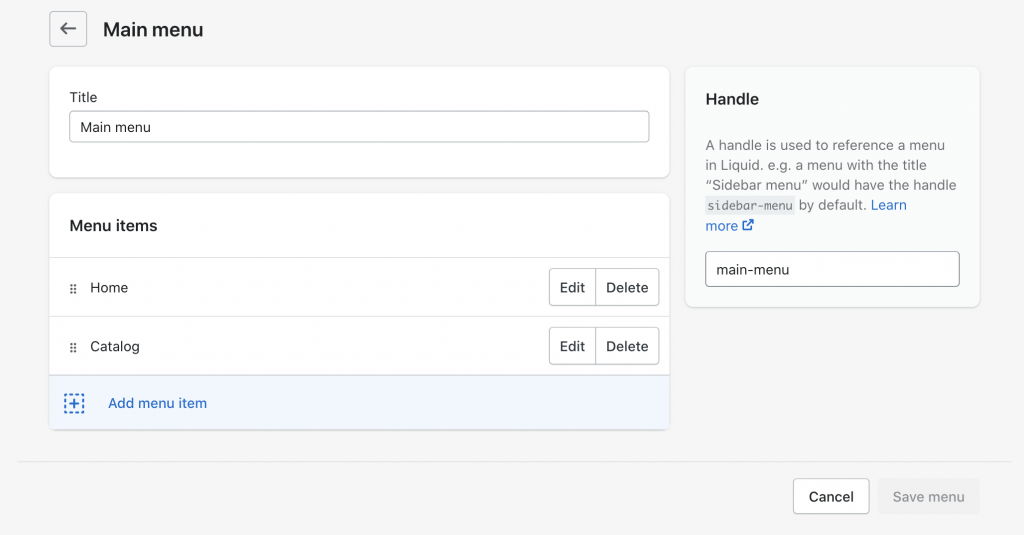
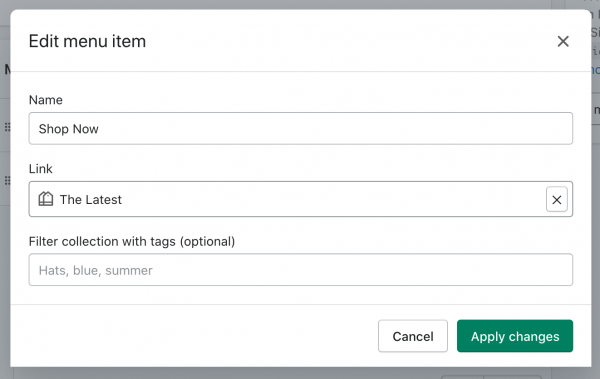
To add a link to the menu, click Add Menu Item.
Adding menu items in the default way is pretty self-explanatory. However, if you want to recreate this layout, like how it’s set up in the demo….
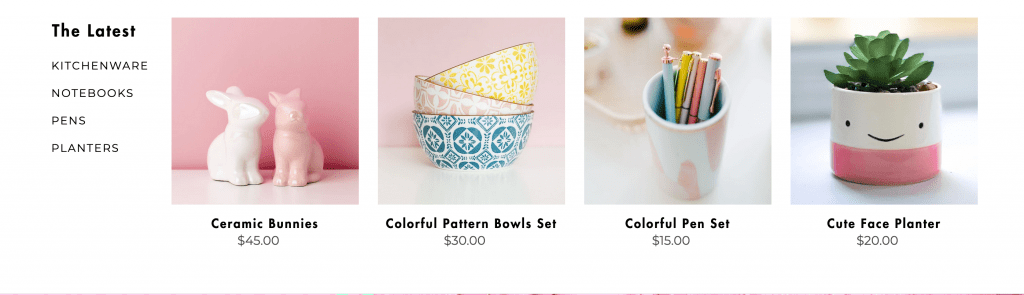
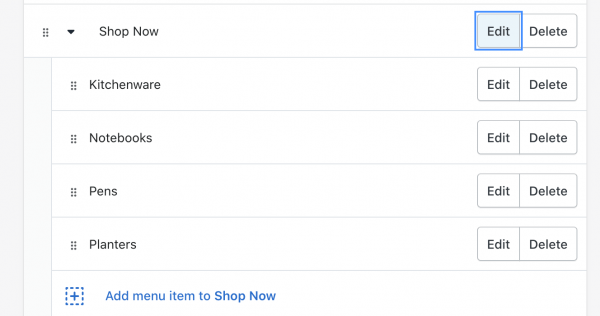
Click on Add Menu Item and select a Collection Link. If you don’t have any Collections set up, go to Products > Collections to create one. In the screenshot below, we’re displaying a collection named The Latest.
After adding a Collection Link, the menu will automatically display four most recent products from that collection. Easy! Next, to display additional links to the left of the products, like so…
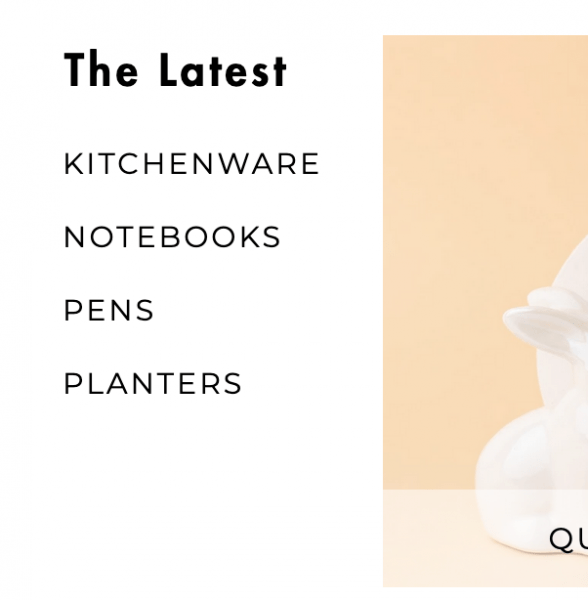
Simply add those links under your Collection Link. These links can be anything. However, in the demo, we used links to tags.
Now, if you want to recreate this layout…

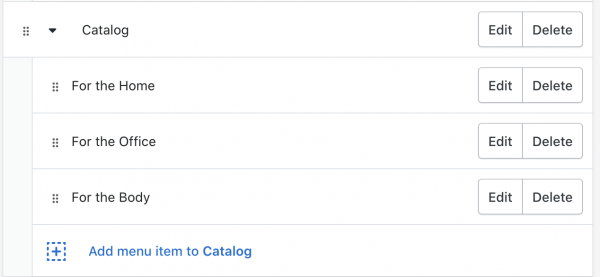
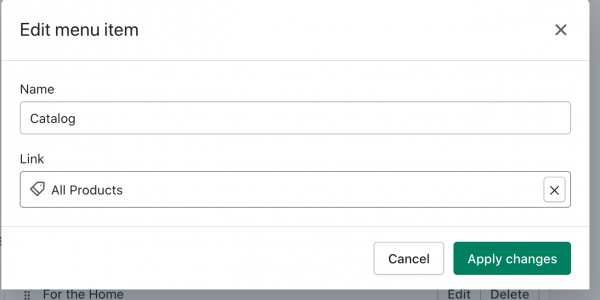
All you have to do is click Add Menu Item, select Products, and then All Products. If you’re editing the Main Menu, this link should already be in there as “Catalog.”
Next, add any Collection Link you want under Catalog.