
Image With Text Section
To edit this section, go to Online Store > Themes and click Customize.
Once inside the Customizer, you should see “Image With Text” listed with all the other sections. If it’s not there, add it by clicking on “Add Section” at the bottom. After adding it, click on “Image With Text” to open the settings.
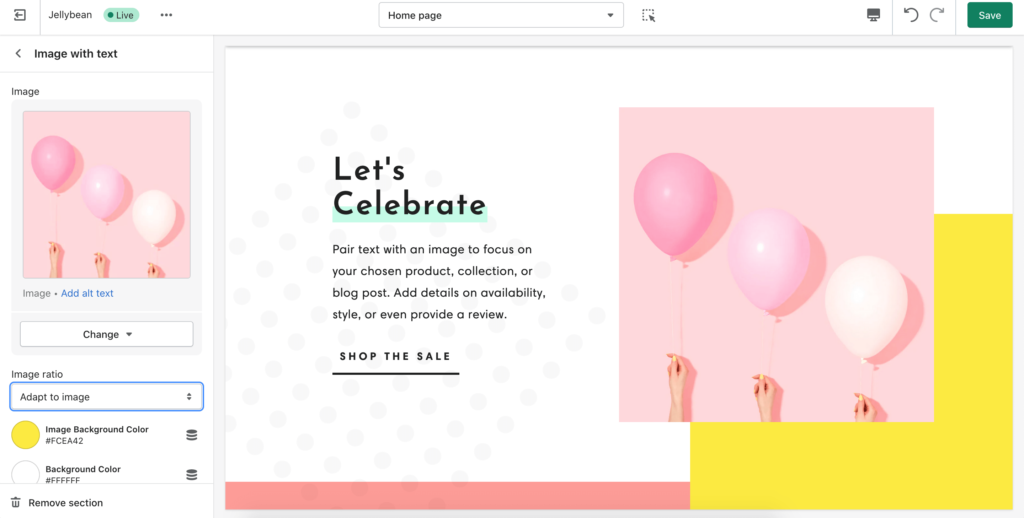
From here you can upload an image and set the majority of the color settings. Although you have two image sizes to choose from, if you don’t want your image cropped, select “adapt to image” under Image Ratio.
If you don’t want to use the default dots that come with the theme, you have the option to use a custom SVG image instead.

If you have a JPG or PNG you want to use, first convert it to SVG. Next, open up the .svg file with a basic text editor (like Notepad or Text Edit) and copy the code inside. Last, paste the code into the field labeled Custom SVG. Once the SVG has been uploaded, you can change the color and the opacity. For best results, use an image that’s similar in size to the original dots.
If the SVG doesn’t work, it probably wasn’t converted correctly. Unfortunately, we cannot provide support for improperly formatted SVGs. Either try a different image or try converting it again with different software.
To edit the heading and text, click the arrow on the top left-hand side to go back. Next, underneath Image With Text you should see the list of blocks. Click on each one to begin editing each block.
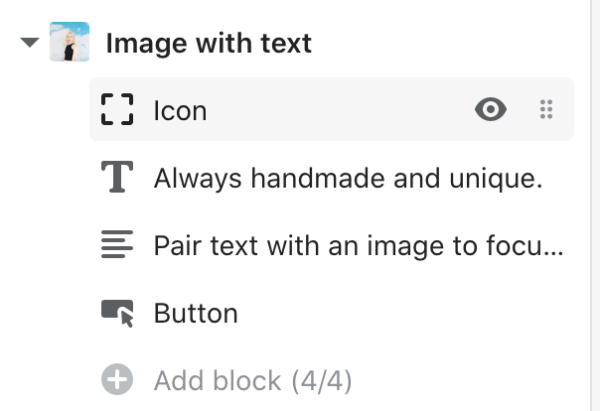
You can move the blocks around by clicking and holding as you drag it up or down. Click the eye icon if you want to turn off a block. To see a block’s settings, click on the block name to see its settings.