
Lookbook Page
The Lookbook Page is a place to create shoppable galleries right in your store! Simply upload your pictures and add your products. You can add up to three products per image. When users click on the glowing dot, it’ll open the “Quick View” popup box. For mobile users, they’ll be taken directly to the product page instead.
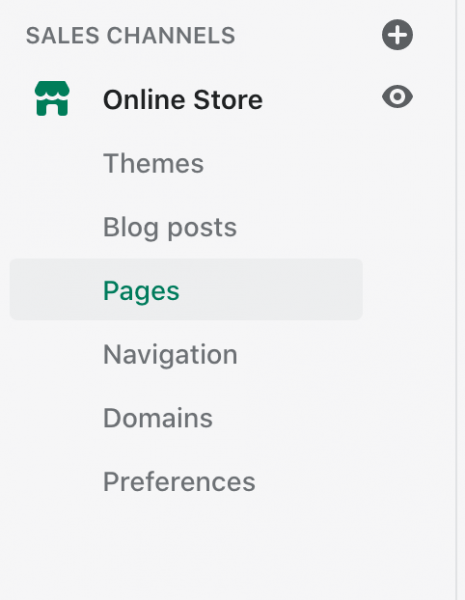
To create a page, go to Online Store > Pages. (If you imported demo content, you can skip down to customizing.)
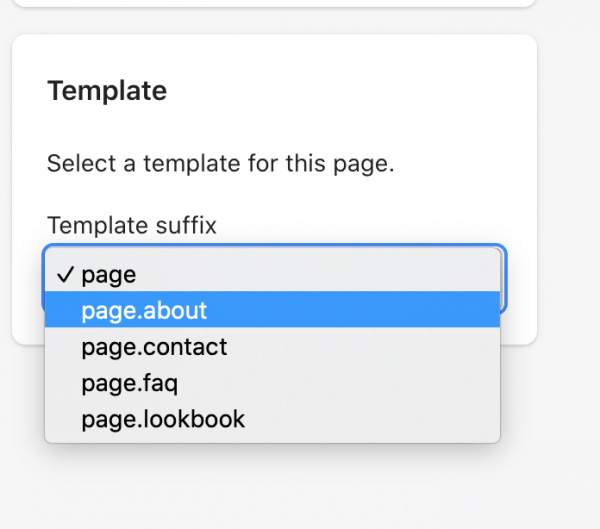
Next, click on the green Add Page button. While creating the page, in the bottom right-hand corner under Template, select the template you want to use for the page. Since this is the Lookbook Page, we’ll be selecting “page.lookbook” You don’t need to type anything in the body of the page. Save when you’re done.
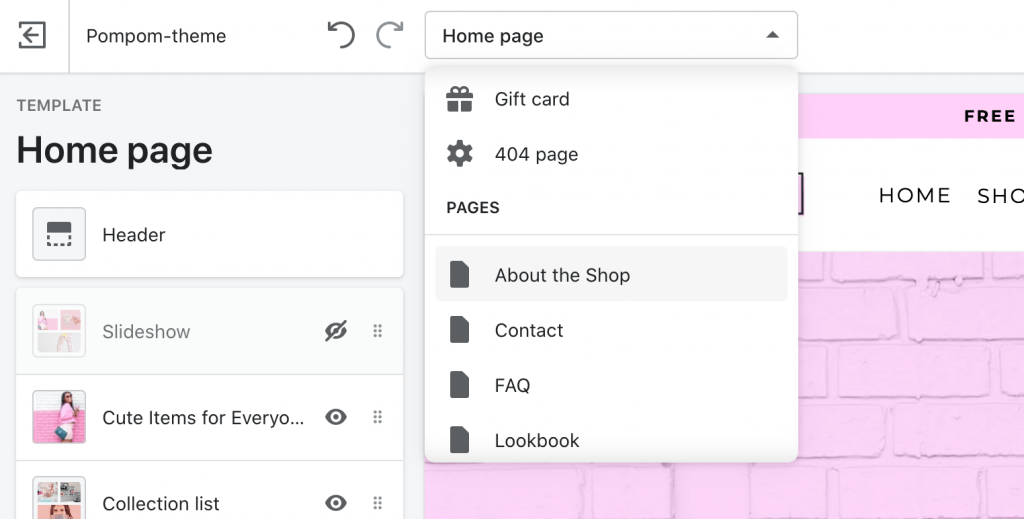
Next, go to Online Store > Theme and click on Customize to start customizing the page. With the customizer open, select Lookbook from the dropdown list at the top.
Your page should now look like this.
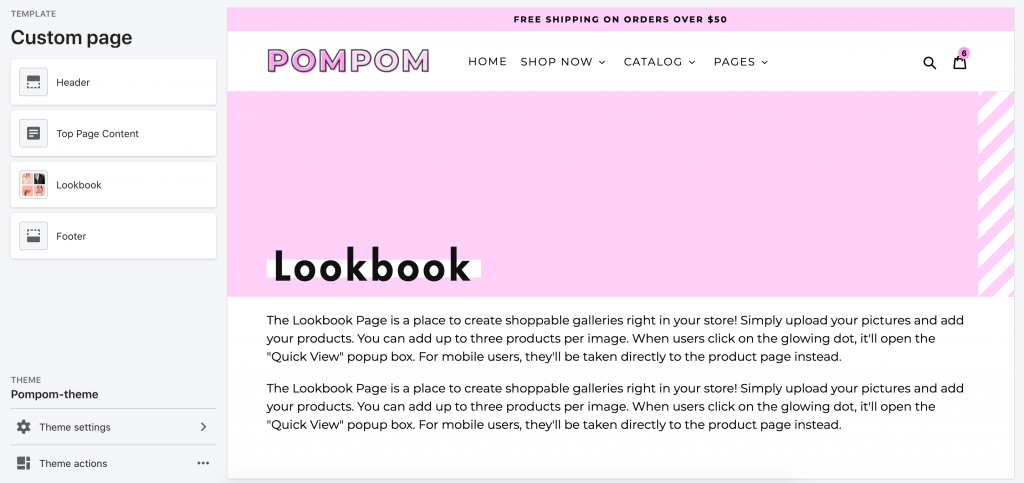
Next, click on Top Page Content to edit the title and text.
Lookbook
To add a Lookbook image, click on the Lookbook section and Add Lookbook Image.
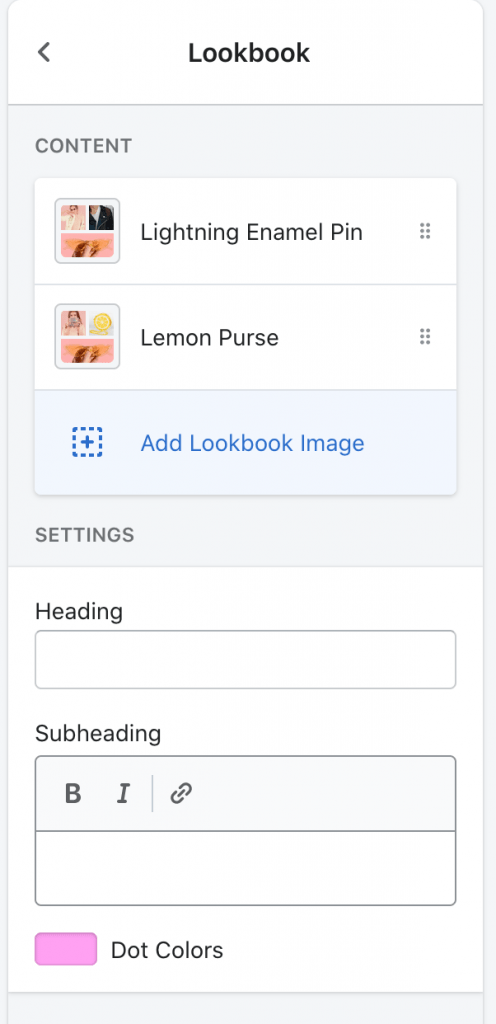
After uploading an image, click Select Product to add a product to the image. You can add up to three products per Lookbook Image.
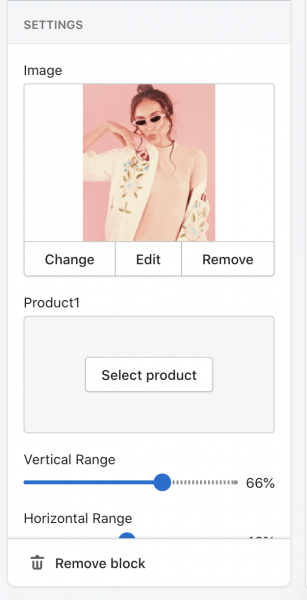
To position the glowing dots that users will click on, adjust the Vertical Range and Horizontal Range to position the dots the way you want. The horizontal range moves the dot left and right, and the vertical range moves the dot from top to bottom. You’ll need to position the dots for each product you add to the Lookbook Image.

When you’re done with one Lookbook image, click the arrow to go back to repeat the process again for the next image. You can add as many Lookbook images you want. 🙂