
Lookbook Section
To edit or add this section, go to Online Store > Themes and click Customize. Once inside the Customizer, click on “Add Section” at the bottom and add “Lookbook.” Here’s how the section is set up on the demo site:
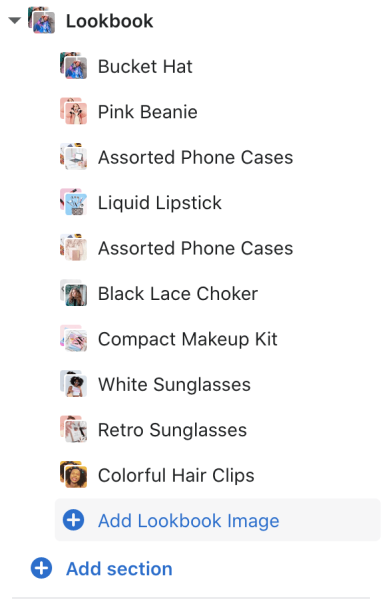
To add a Lookbook image, click on the Lookbook section and Add Lookbook Image. After uploading an image, click Select Product to add a product to the image. You can add up to three products per Lookbook Image.
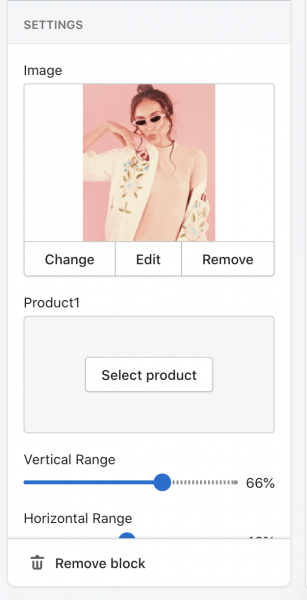
To position the glowing dots that users will click on, adjust the Vertical Range and Horizontal Range to position the dots the way you want. The horizontal range moves the dot left and right, and the vertical range moves the dot from top to bottom. You’ll need to position the dots for each product you add to the Lookbook Image.
When you’re done with one Lookbook image, click the arrow to go back to repeat the process again for the next image. You can add as many Lookbook images you want. 🙂