Menu
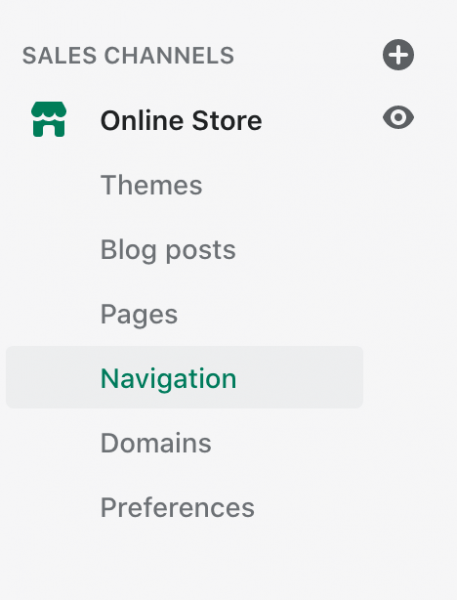
While in your dashboard, go to Online Store > Navigation.
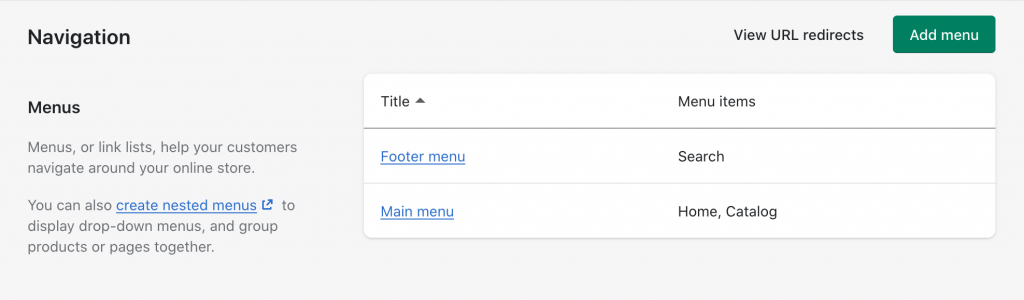
In the top right-hand corner, click “Add Menu” if you want to create a new menu, or click on one of the existing menus if you simply want to edit an existing menu.
To add a link to the menu, click Add Menu Item.
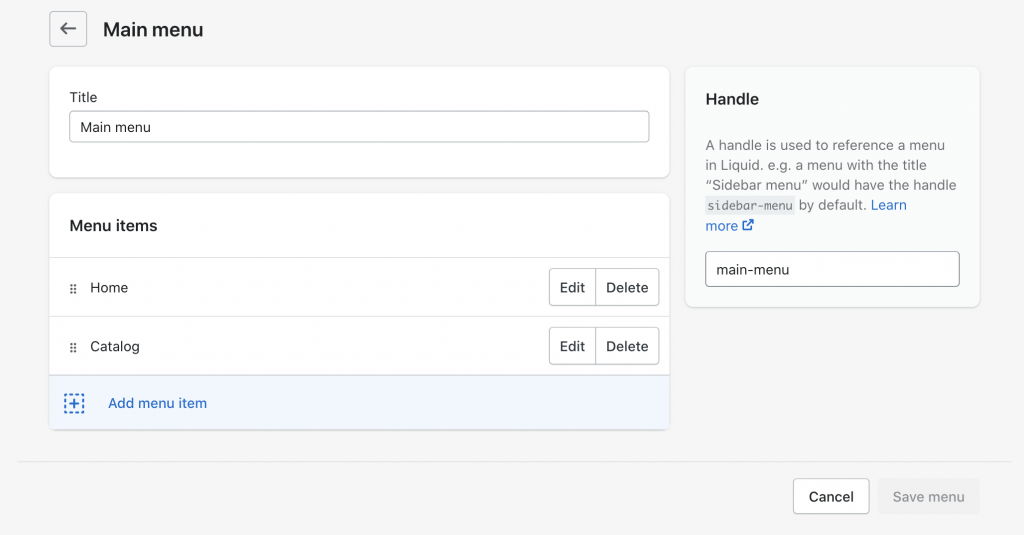
To begin adding menu items, click Add Menu Item. As long as your menu is only one level deep, it should look like this:
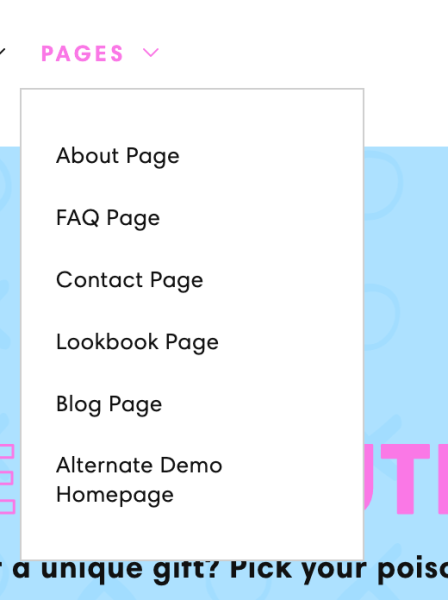
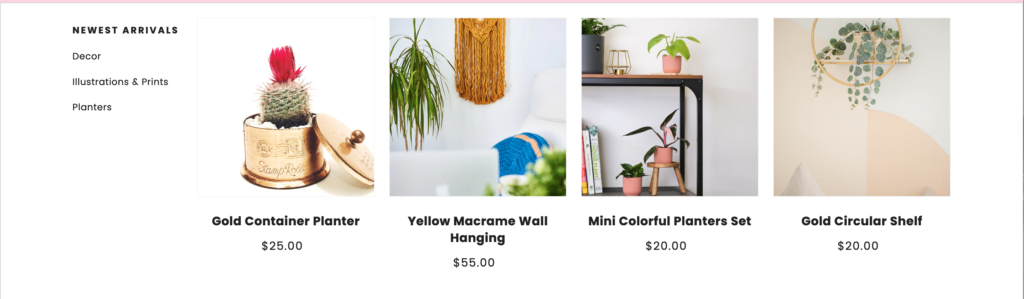
However, if you want to recreate this layout, like how it’s set up in the demo….
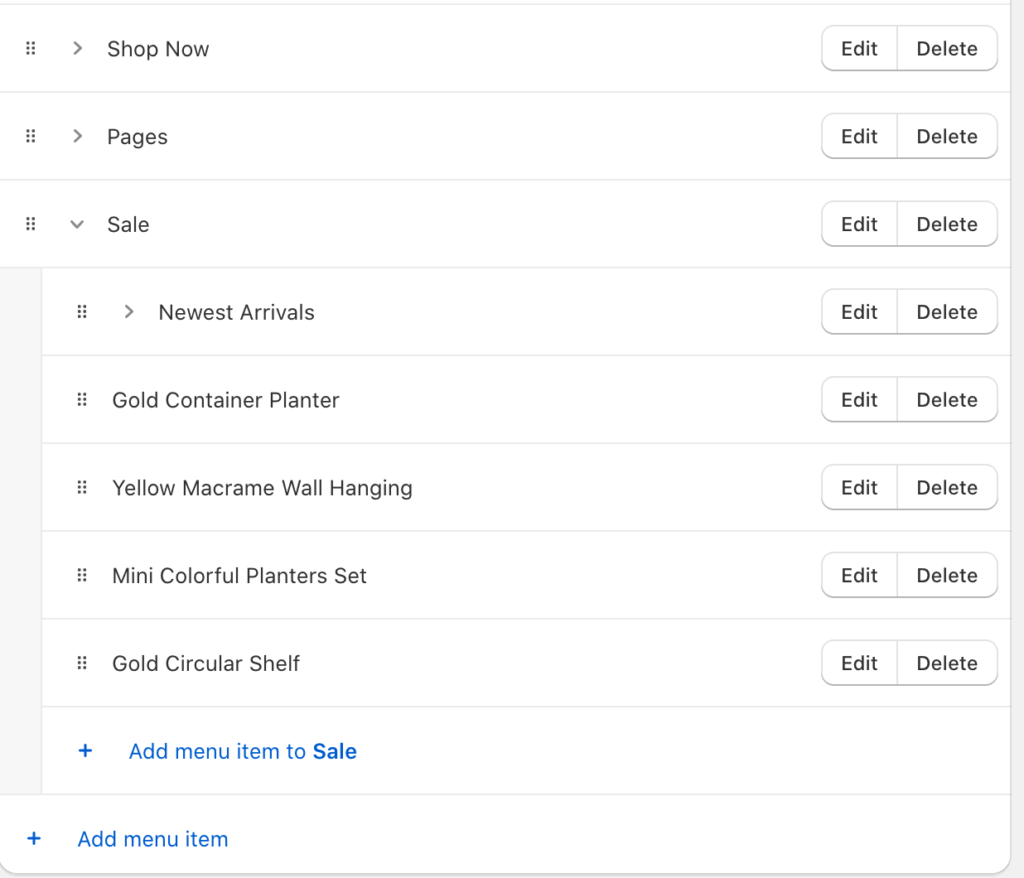
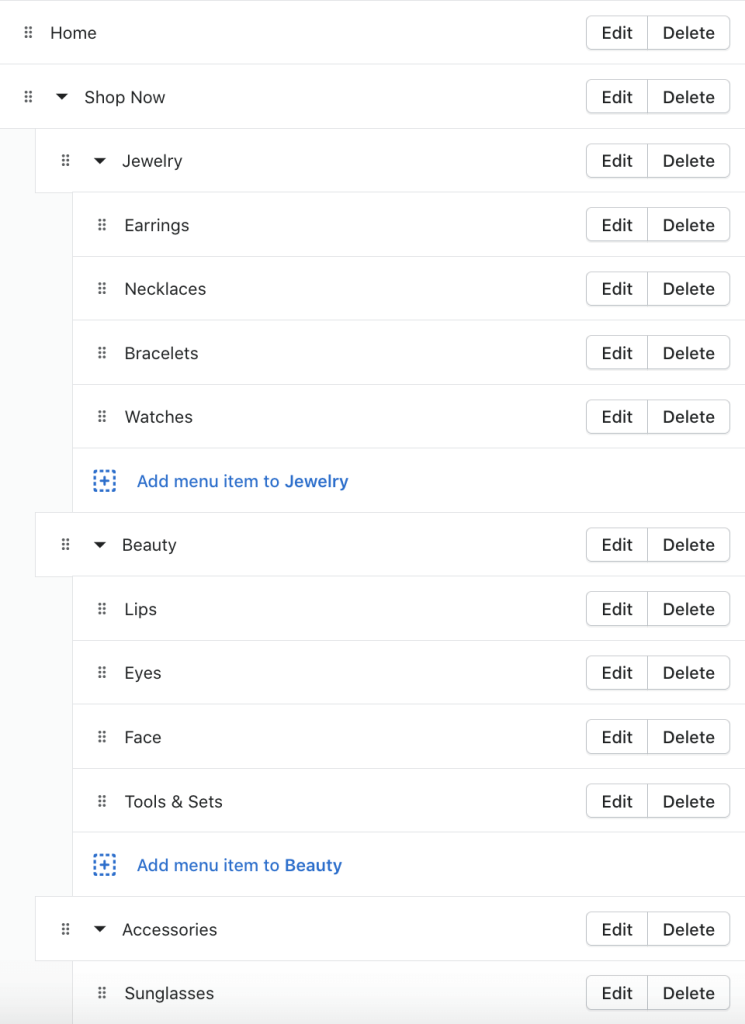
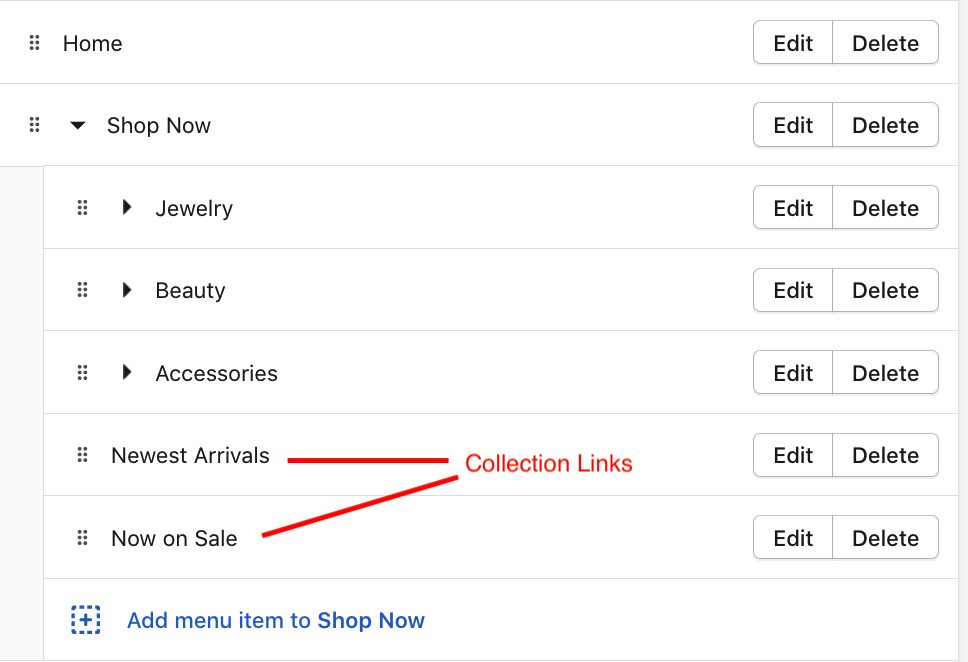
Click on Add Menu Item and begin adding multiple nested links. As you’re building it, it should look like this:
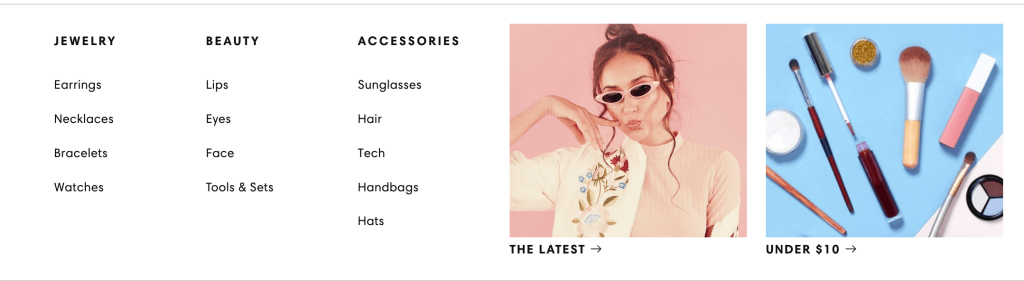
To add a Collection image, simply add a Collection Link to your menu. If you don’t have any Collections set up, go to Products > Collections to create one. After adding a Collection Link, the menu will automatically display the collection’s image. You can add as many Collection images as you want.
In the demo, many of the nested links are pointing to tags. So, for example, if you have the tag “hats” within the collection Accessories, you can link to yourdomain.com/collections/accessories/hats. However, this is optional.
Update: If you’re using version 1.2 and up, you can now add products to the menu. Simply nest a product link under a link that’s at least two levels deep. Below is an example from the demo site: