
Subscriber List Widget
Our WordPress themes come with a built-in email gatherer. When users sign up, their emails are automatically stored in a list in your dashboard under Little Subscriber List. As of March 9, 2021, you can now connect the widget to your Mailchimp or Convertkit account! Here’s how to set it up.
- To set it up, first go to Widgets under Appearance and add the widget to the appropriate widget area. If you imported demo content, this was already done for you.
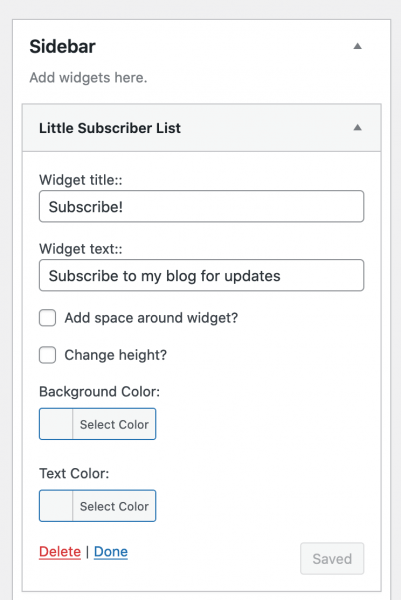
- Enter a title, text and save. (Note: These fields cannot be left empty.)
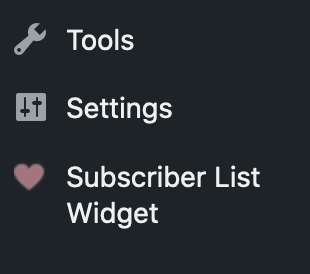
- Next, go into your WordPress dashboard and find Subscriber List Widget. It should be at the bottom right.
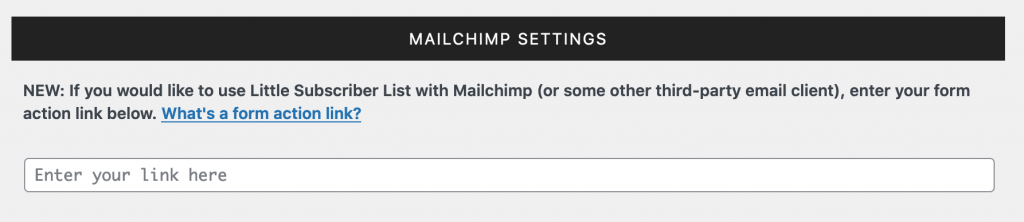
At the top of the page are the Mailchimp settings. These settings are optional. If you would like to connect the widget to your Mailchimp account, enter a form action URL in the link field. What’s a form action url?
If you’re using Mailchimp, you can disregard the settings under “Sign-Up Form Settings.” For everyone else, keep reading!
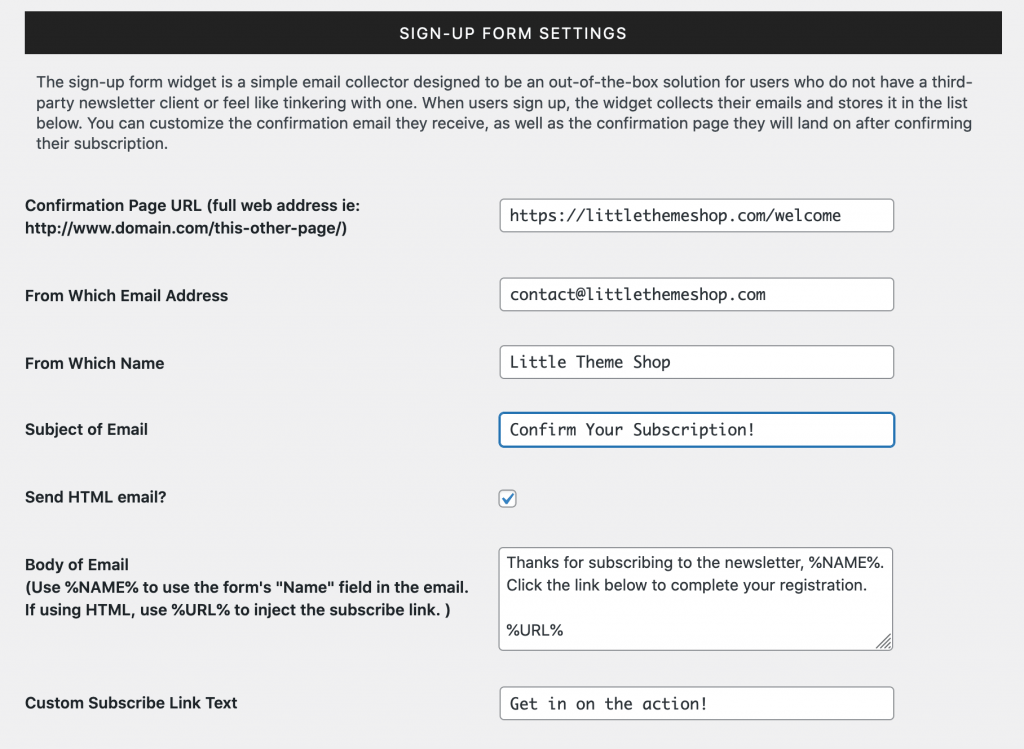
Confirmation Page URL: When a visitor enters their email address, they’ll receive an email with a confirmation link asking them to confirm their subscription. When they click it, they’ll be taken to whatever URL you enter in this field. This link can literally be whatever you want. If you don’t have a page set up, create one under Pages > All Pages > Add New.
From Which Email Address: This needs to be your WordPress admin email.
From Which Name: This is your name, your site’s name, or your brand’s name.
Subject/Body: These fields are for the confirmation email that subscribers receive when they first sign up. You can put anything you want, but it’s a good idea to let the subscriber know that they need to click the confirmation link to be officially subscribed. If you leave these fields blank, default text will be used instead.
Send HTML email: Check the box to use HTML in your email. Use the code %NAME% to insert the subscriber’s name and %URL% to insert the confirmation link wherever you want. Take a look at the screenshot above if you need a visual example.
Custom Subscribe Link Text: If you’re using HTML and want to override the default, “Click here to subscribe!” text, you can enter your own custom text in this field.
Subscribers: Once the subscriber is confirmed, their email will be listed under here. Click Export List below it to create a CSV to use in software such as MailChimp or Constant Contact. This widget was built for small lists (less than 300 emails), so please download and delete this list often!
Unconfirmed / Temporary Emails: Unconfirmed email addresses are stored in this list. Delete them to save space.
Delete Current List: Click this to delete all emails from both lists. This option can’t be undone, so make sure you have a backup of your CSV before clicking.
Shortcode: To display a sign-up form in the body of a post or page, use the shortcode [ little_subscriber_list_form ] (without the spaces).
Note: If you’ve noticed your confirmation emails are always going into the spam folder or taking hours to be delivered, or if you’re using a non-domain email address (like gmail/yahoo), we recommend installing this plugin. If using a gmail/yahoo address, make sure to select, “Tick to set the Envelope to the From.”