
Importing Demo Content
The fastest and easiest way to get your site up and running and looking just like the demos is to import demo data. That way, all you have to do is go in and replace all the demo content with your own. It’s ridiculously easy.
- Activate One Click Demo Import: Go to Install Plugins under Appearance and activate it.
- Next, go to Appearance > Import Demo Data.
- Click “Import Demo Data” at the bottom.
- Wait! This process will take several minutes. Do not close the tab or do anything until the import is complete.
- You’re done! Check your site to see the changes.
Common problems
Due to a medley of reasons, you might run into errors while importing the demo content. Below is a rundown of the most common ones, along with solutions.
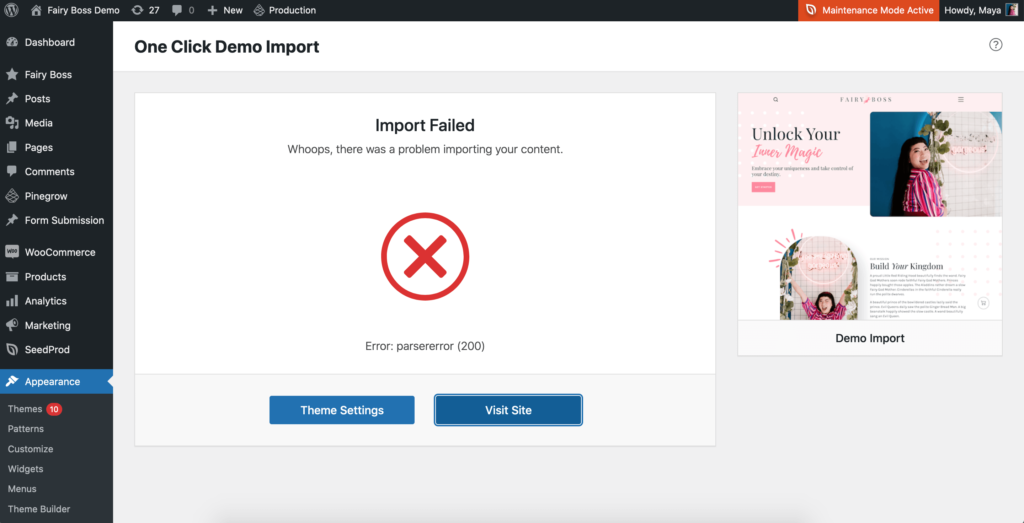
Parsererror (200)
This means some syntax in the demo content wasn’t parsed correctly. Although the error looks serious, it’s not really a big deal. Click “View Site” to check what your site is looking like. Most likely the demo content got import successfully anyway.
Internal Server Error
If your import wasn’t successful, and none of demo content was imported, contact your web host provider. You most likely need to increase your PHP settings to accommodate the import size.
Error (500)
If you get this error, it means you need to update WordPress to its most recent version. You can update WordPress by selecting “update” in your dashboard.
Something Else?
Demo imports don’t always work the same for every site. If you’re still having issues, contact us at support (at) littlethemeshop (dot) com.