If you’re new to Flodesk, you might feel a bit overwhelmed by all the customization options. Don’t worry—this guide will walk you through the process of editing a Flodesk template step by step. By the end, you’ll be able to create beautiful, branded emails with ease.
Understanding the Basics: Layouts vs. Blocks
Before diving into the editing process, it’s important to understand the difference between layouts and blocks in Flodesk.
- Layouts: These are pre-designed sections of your email that you can add to your template. They are like mini-templates within your main template, and they often contain multiple blocks arranged in a visually appealing way. Layouts might include headers, footers, image galleries, or multi-column text areas. When you send an email, these layouts will be converted into static images.
- Blocks: Think of blocks as the individual building pieces of your email. Each block can contain a single element, such as text, an image, a button, or a divider. You can add, remove, or rearrange blocks within a layout to customize your email. When you send an email, blocks will be rendered as selectable text.
Step 1: Choose a Template
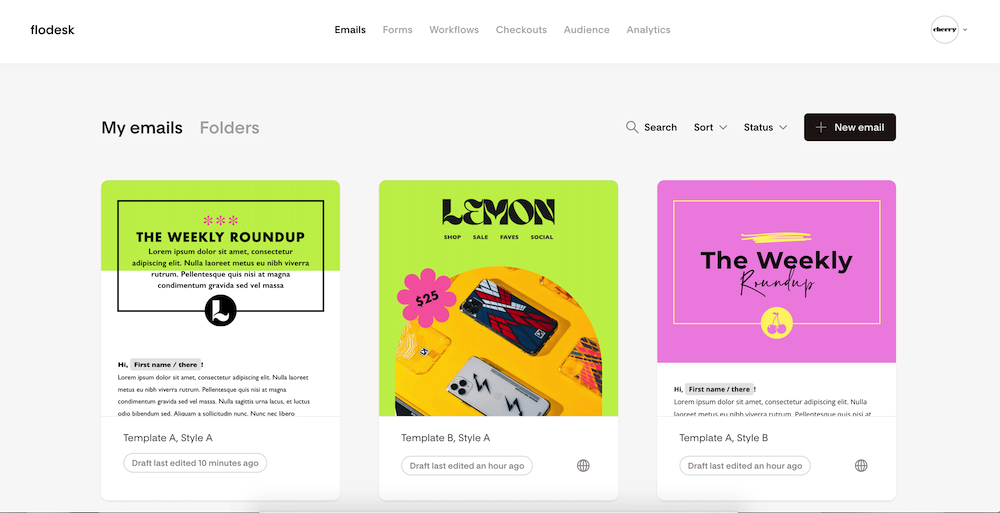
- Log into Flodesk: Head over to Flodesk and log in to your account.
- Select a Template: Click on “Emails” in the main menu, then hit “Create New.” Flodesk offers a variety of beautiful, pre-designed templates, or you can purchase one designed by us in the shop.
- Preview the Template: Before editing, you can preview the template to see how it looks. If you like what you see, click on “Customize” to start editing.
Step 2: Edit the Layout
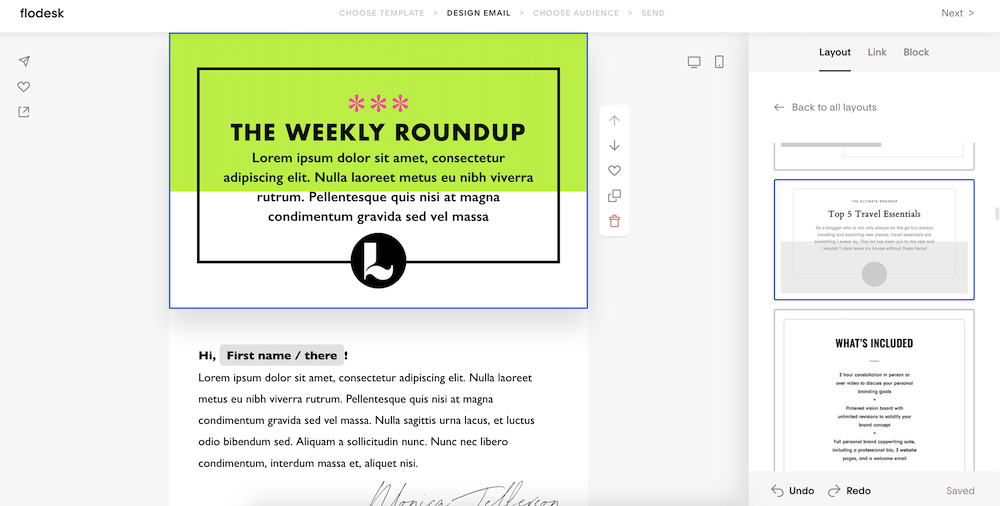
- Access the Layouts Panel: On the right-hand side of the editor, you’ll see a panel labeled “Layouts.” Here, you can scroll through different pre-made sections that you can add to your email.
- Add a Layout: To add a layout, simply drag it from the panel and drop it into your email. You can place it anywhere—at the beginning, middle, or end of your template.
- Rearrange Layouts: If you want to move a layout, hover over the layout until you see a “Move” icon, then click and drag it to your desired position.
Step 3: Customize Blocks
- Edit Text Blocks: Click on any text block within your template to start editing. You can type directly into the block to replace the placeholder text. Use the formatting toolbar above the text block to adjust font style, size, color, alignment, and more.
- Edit Image Blocks: To replace an image, click on the image block. A side panel will appear, giving you the option to upload a new image or choose one from your Flodesk library.
- Upload Images:
- Click “Upload Image”: When editing an image block, click the “Upload Image” button.
- Select Your Image: Choose an image from your computer. Flodesk supports all standard image formats like JPEG, PNG, and GIF.
- Adjust the Image: Once uploaded, you can resize or crop the image directly in Flodesk. Drag the corners to adjust size or use the crop tool for precision
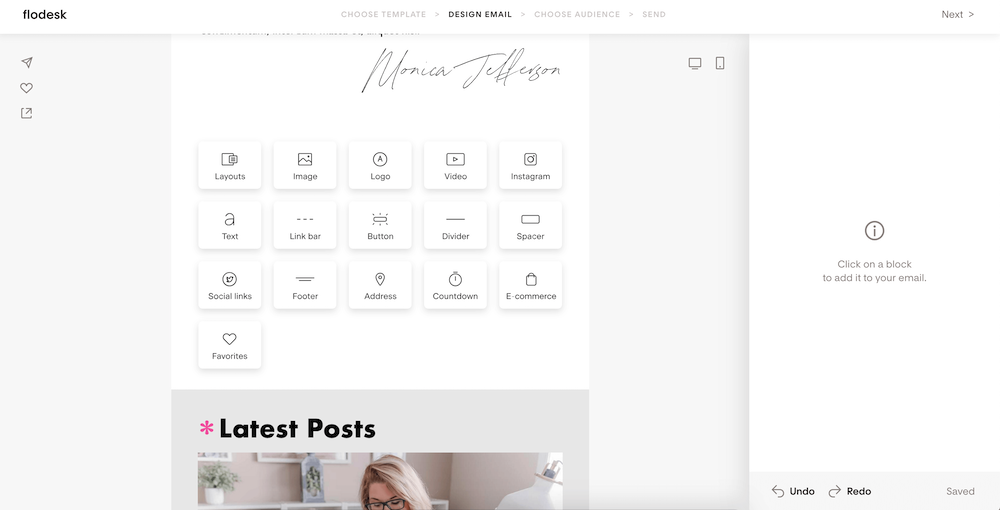
- Add or Remove Blocks:
- Add a Block: To add a new block, hover between existing blocks until you see a “+” icon. Click it, and a menu of block options (text, image, button, etc.) will appear. Choose the block you want to add.
- Remove a Block: To delete a block, hover over it until a trash can icon appears. Click it to remove the block from your email.
Step 4: Customize Colors and Fonts
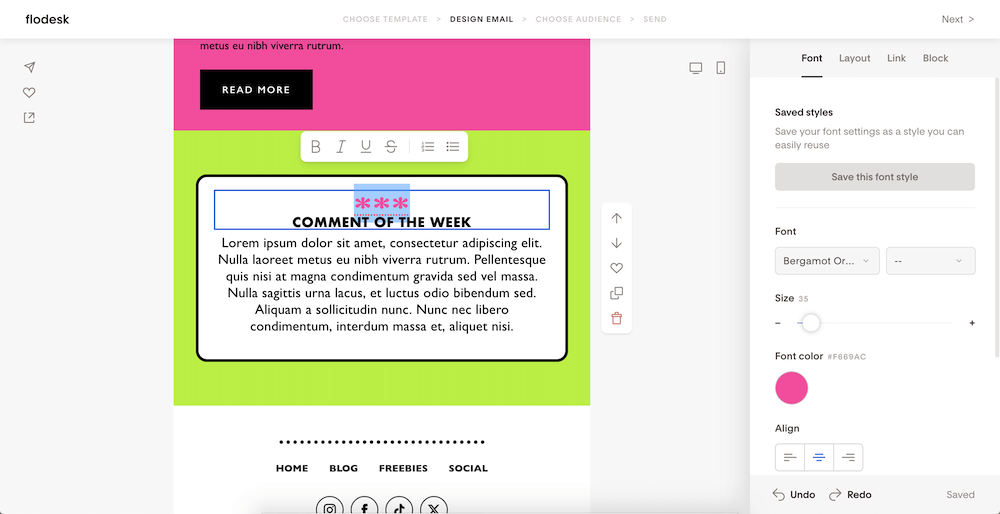
- Change Colors: Click on any block, and a side panel will appear with color options. You can choose from your brand colors or use the color picker to find the perfect shade.
- Update Fonts: Flodesk offers a range of fonts to choose from. To change the font of a text block, click on the text, then select the font dropdown in the formatting toolbar. If you’re using one of our Flodesk templates, they come with custom fonts for both the text and the icons. Consult the instructions document that came with your purchase for more info.
Step 5: Add Links and Buttons
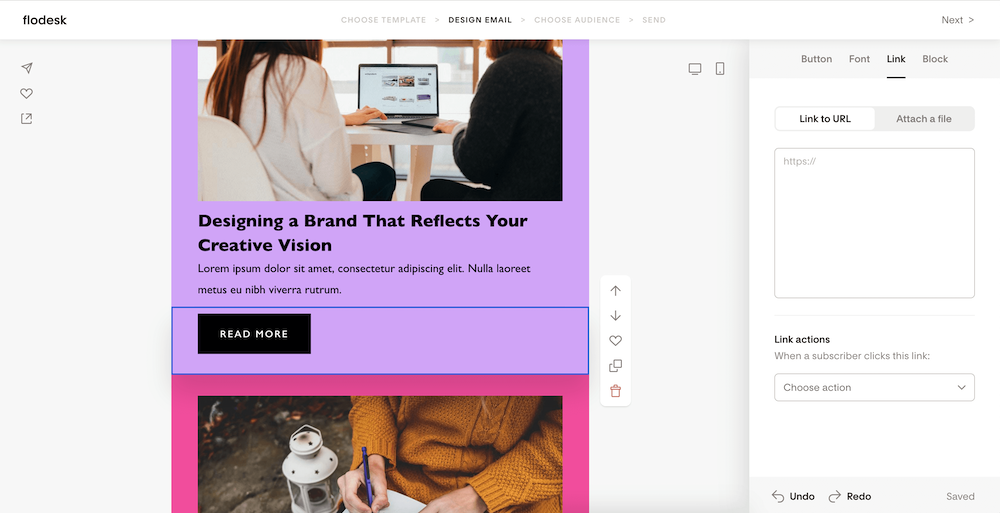
- Link Text: To add a hyperlink to text, highlight the text, then click the link icon in the formatting toolbar. Enter the URL you want to link to, and hit “Apply.”
- Customize Buttons: Click on a button block to edit it. In the side panel, you can change the button text, adjust the size and shape, and add a link. You can also change the button color to match your brand.
Step 6: Preview and Test
- Preview Your Email: Click the “Preview” button at the top right of the editor to see how your email will look on both desktop and mobile devices. Make any final adjustments as needed.
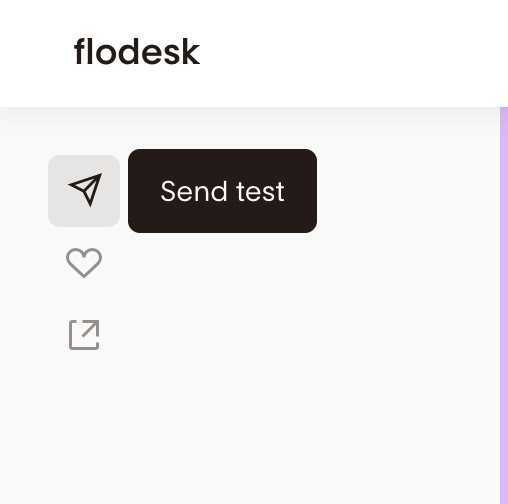
- Send a Test Email: Before sending it to your full list, click on “Send Test” to send a test email to yourself. This allows you to check for any errors or adjustments that need to be made.
Step 7: Save and Send
- Save Your Work: Flodesk automatically saves your progress, but it’s always a good idea to click “Save” before exiting the editor.
- Send or Schedule: When you’re satisfied with your email, click on “Next.” You can then choose to send the email immediately or schedule it for a later time.
With these steps, you’ll be able to confidently edit and customize Flodesk templates to create stunning, effective emails in no time at all. Piece of cake!