It’s always a shock to users when I tell them that Shopify doesn’t offer a function to handle custom fields. As an alternative, users are advised to use an app from Shopify’s app store. However, if you’re not afraid of editing code, there’s actually an easier (and cheaper) way to add custom fields to your Shopify theme yourself. Although this tutorial is pretty simple, it’s recommended to duplicate your Shopify theme before beginning as a backup in case you mess up.
Step 1: Create a New Product Template
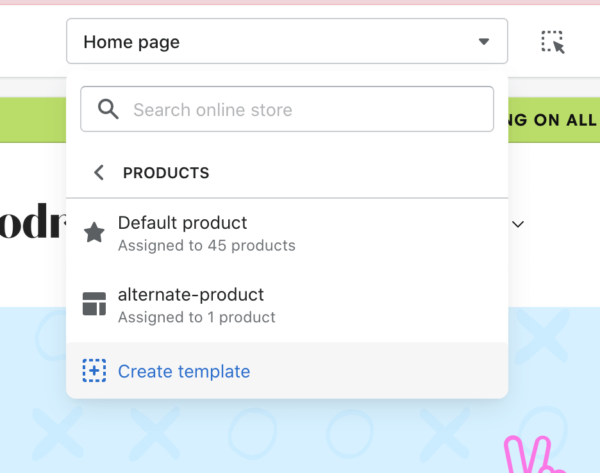
Open Shopify’s Site Editor (Online Store > Theme > Customize) and click on Products > Create New Template at the top.
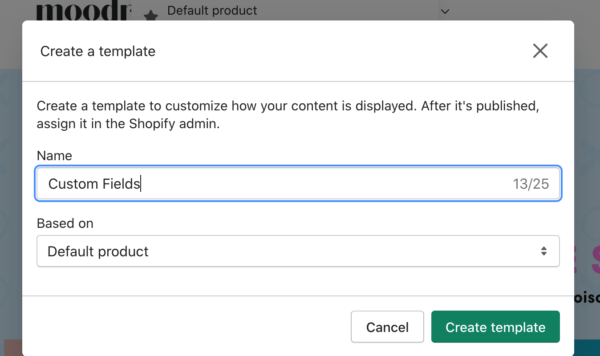
Name it whatever you want, but in this example we’re naming it Custom Fields. When you’re done, click on the three dots in the top left-hand corner and select Edit Code.
Step 2: Create a New Product Section
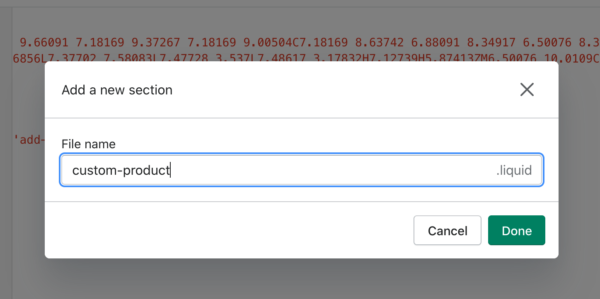
While inside the code editor, scroll down to Sections and click “Add a New Section.” Name it whatever, but in this example, we’re naming it custom-product.liquid.
After creating your new product section, look for main-product.liquid from under Sections and open it. Copy the code from main-product.liquid and paste it inside custom-product.liquid.
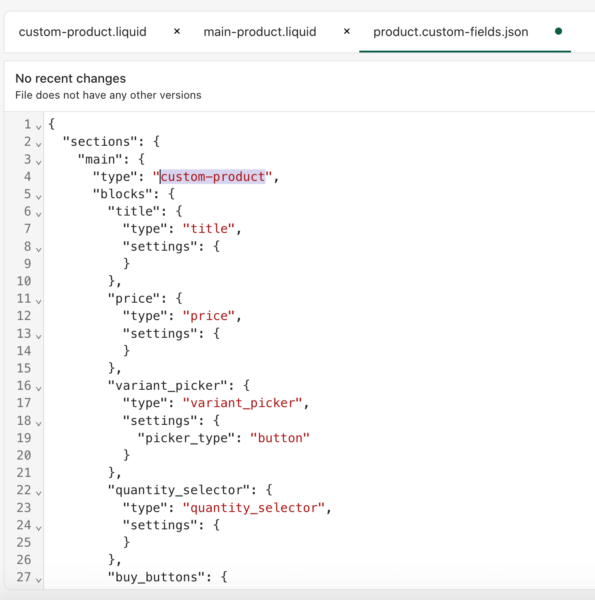
Lastly, look for product.custom-fields.json under Templates. This is the template we created in Step 1. Open the template and replace “main-product” with the name of your new product section. In this example, it’s “custom-product.”
Step 3: Grab Your Custom Field Code
Now the fun part. Head over here to start generating your custom field code.
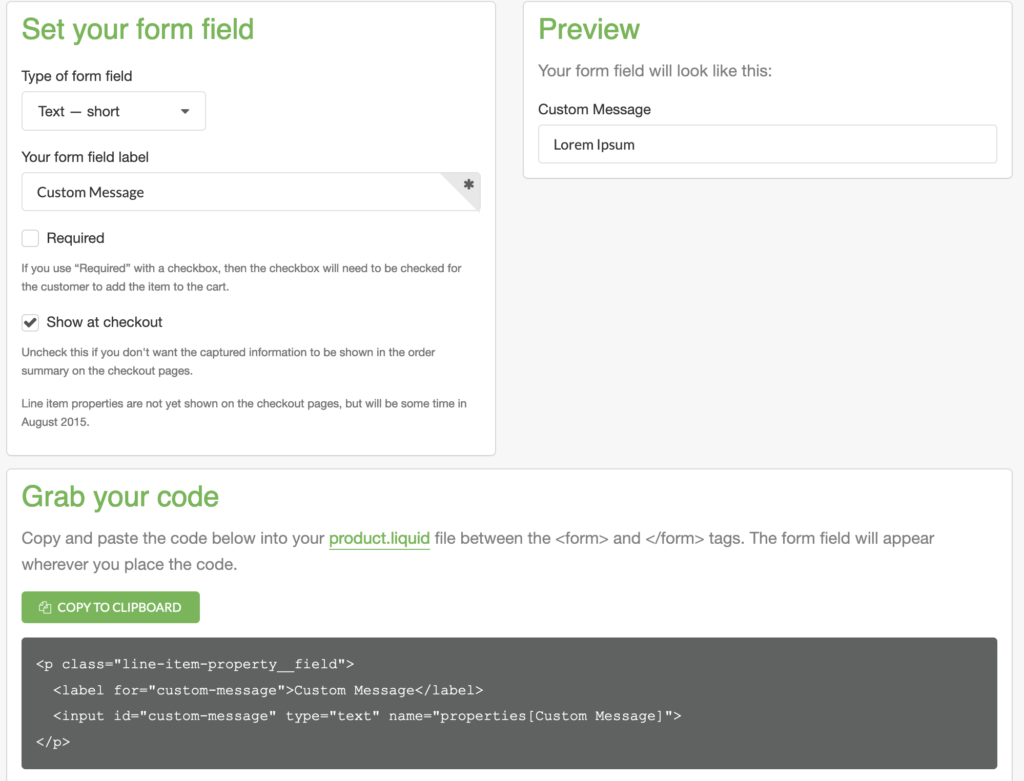
For example, let’s say we’re selling a product where customers can add an engraved message. So, we want a field that says “Custom Message” with an area for them to type their message. Under “Type of form” select “Text — long” and then type in a title under “Your form field label.” There’s a preview on the right to show you what the field looks like. Once you’re done, click “copy to clipboard” at the bottom to grab the code.
This code generator will also generate code for other form field types, like radio buttons and drop down select. In this tutorial, we’re using a text form field and a radio button form field.
Step 4: Copy the code into your new product section
Now that you have the code, head back over to custom-product.liquid (or whatever you named your new product section) and paste the code right underneath {%- form -%}.
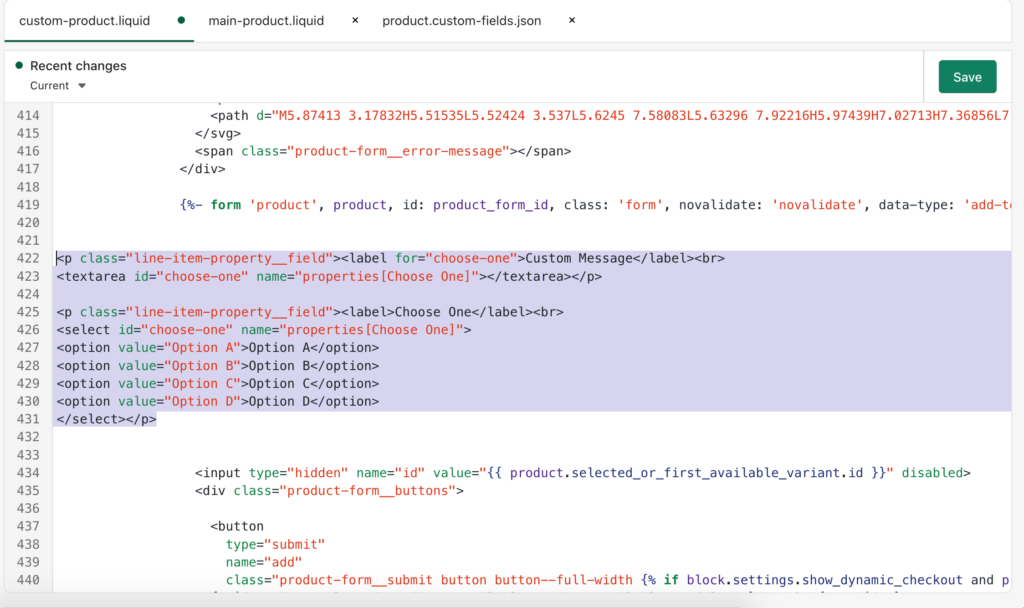
Save when you’re done.
Step 5: Assign the new template to a product
Leave the code editor and click on Products in your Admin Screen. Select a product you want to add your custom fields to.

While editing the product, scroll down to the bottom right-hand side and select your new template from the dropdown list and save.
Step 6: See your new custom fields in action
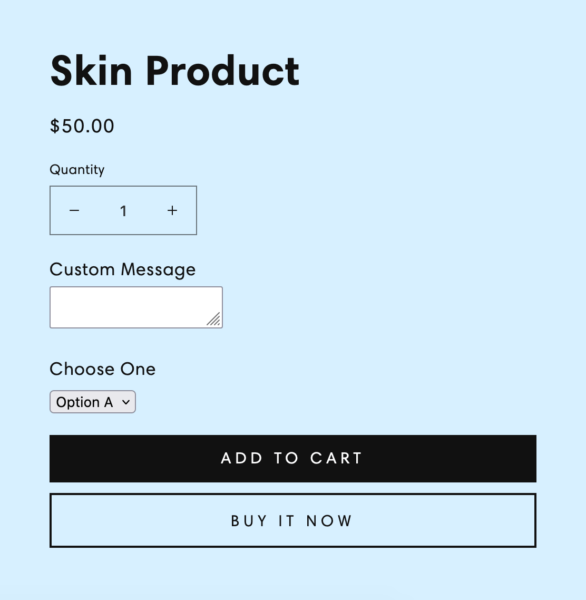
All done!