We all know that running a business means wearing a hundred hats, and designing is just one of them. But what if I told you that you could whip up stunning graphics in no time and still have a moment to breathe? Yep, with Canva, it’s totally possible. Let’s dive into ten awesome hacks that’ll save you time and keep your designs looking on point.
1. Create Custom Templates for Repeated Use
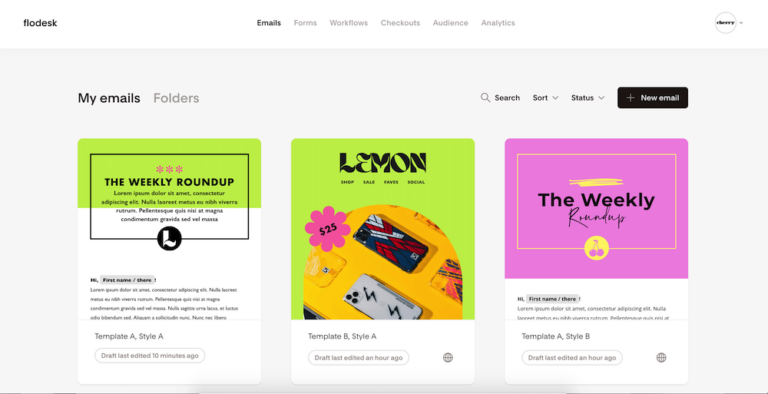
Let’s face it—nobody has time to reinvent the wheel every time they need a social media post. That’s where Canva’s custom templates come to the rescue! Instead of starting from scratch every time, you can use these Canva templates, making minor adjustments as needed. This ensures consistency across your brand while reducing design time.
How to Do It:
- Start by designing a layout that you frequently use (like a social media post, flyer, or newsletter).
- Save your design by clicking the “File” tab and selecting “Save as Template.”
- Now, every time you need a similar design, just open the template, tweak the details, and voila! A fresh new graphic in minutes.
2. Utilize Canva’s Magic Resize Tool
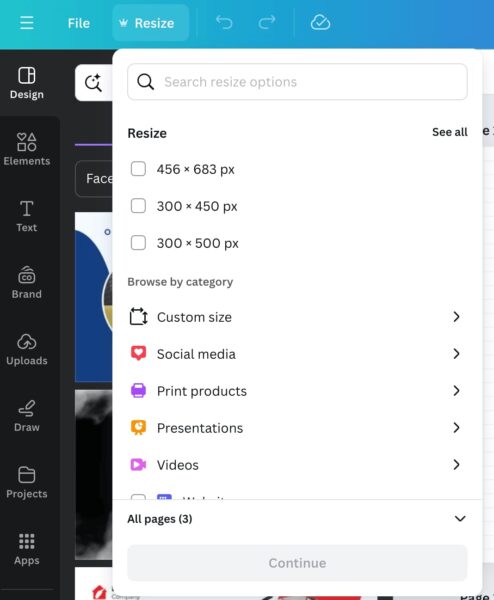
You’ve just created a killer Instagram post, but now you need it for Facebook, Twitter, Pinterest… the list goes on. Instead of starting from scratch, use Canva’s Magic Resize tool to resize your design in a snap! Whether you need a square Instagram post or a vertical Pinterest pin, Magic Resize handles it for you, eliminating the need to create separate designs.
How to Do It:
- After finishing your design, click the “Resize” button in the top toolbar.
- Select the platforms you need (like Instagram, Facebook, Pinterest) and click “Copy & Resize.”
- Canva will automatically generate a copy of your design, perfectly sized for each platform. Just make minor adjustments if needed, and you’re good to go!
3. Leverage Canva’s Brand Kit
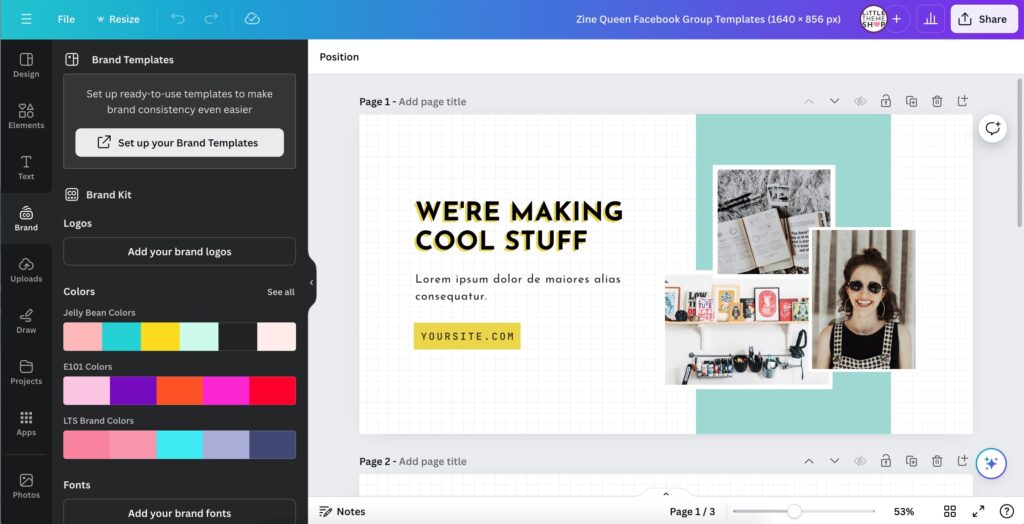
Consistency is key when it comes to branding, and Canva’s Brand Kit makes it super easy to keep everything aligned with your brand’s look and feel. This not only saves time but also ensures brand consistency across all your designs. Once set up, you can apply your brand elements to any design with just a few clicks.
How to Do It:
- Navigate to the “Brand Kit” section in Canva (you’ll find it on the left-hand sidebar).
- Upload your logo, add your brand colors, and select your fonts.
- Now, whenever you create a design, your brand elements are just a click away. No more hunting for hex codes or uploading your logo every single time!
4. Use Keyboard Shortcuts for Faster Editing

Imagine cutting down your design time by 10%—just by using a few keyboard shortcuts! Canva has some nifty shortcuts that make designing faster and smoother. Familiarizing yourself with these shortcuts can save precious seconds with each design.
Some Handy Shortcuts:
- Press “R” to quickly add a rectangle.
- Hit “T” to insert a text box instantly.
- Use “L” to draw a line.
- Cmd/Ctrl + D to duplicate an element (super handy when you need multiples of the same thing!).
And this is only a fraction of available shortcuts. For more, check out Canva’s guide.
5. Batch Create Social Media Posts
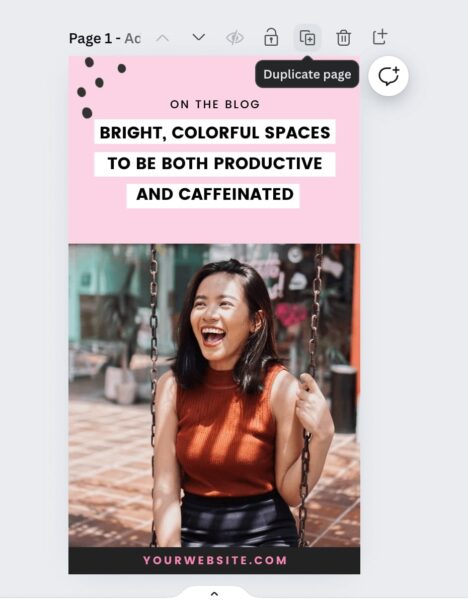
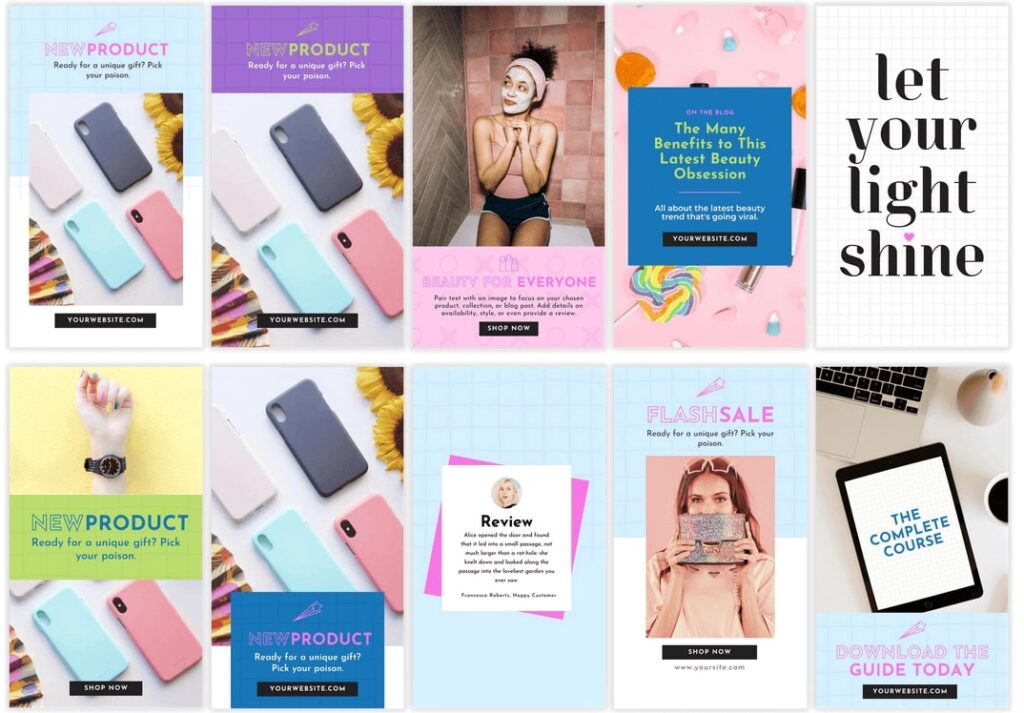
Why design one post at a time when you can batch-create an entire week’s worth of content in one go? Batching helps maintain a consistent aesthetic and saves you from scrambling at the last minute. You can create a series of posts in one sitting, making slight variations to each. This method is not only efficient but also ensures a cohesive look across your social media channels.
How to Do It:
- Set aside an hour to focus solely on creating content.
- Choose a consistent theme or color scheme for the week.
- Use Canva’s “Duplicate Page” feature to create variations of your design without starting from scratch.
- Now, you’ve got a cohesive set of posts ready to go, all in one sitting!
6. Use Rulers, Guides, and Margins for Perfect Alignment
Ever feel like something’s just a little off in your design, but you can’t quite put your finger on it? Canva’s rulers, guides, and margin settings are your secret weapons for getting everything perfectly aligned and looking professional.
How to Do It:
- First, go to File > Settings > Show rulers and guides.
- Rulers will appear on the top and left sides of your design workspace. These are great for measuring and ensuring that your elements are evenly spaced.
- Guides: To add guides, simply click and drag from the rulers onto your design. These lines will help you position elements with precision. For example, if you want to center text or images, drag a guide to the center of your canvas and align your elements to it.
7. Use the Transparency Slider for Subtle Effects
Sometimes you need just a hint of an image or text—something that doesn’t overpower your design. That’s where Canva’s transparency slider comes in handy. The transparency slider in Canva allows you to adjust the opacity of elements in your design. This is great for creating watermarks, layering text over images, or achieving a more subtle effect with your graphics.
How to Do It:
- Select the element (text, image, shape) you want to adjust.
- Click on the transparency icon in the top toolbar (it looks like a checkerboard).
- Slide the transparency bar left or right to achieve your desired effect. It’s perfect for creating watermarks, subtle overlays, or background effects!
8. Explore Canva’s Content Planner
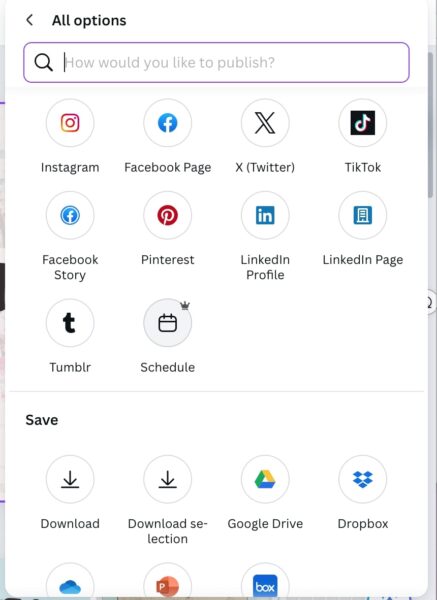
Wouldn’t it be awesome if you could design and schedule your social media posts all in one place? With Canva’s Content Planner, you can do exactly that. Canva’s Content Planner allows you to schedule and publish social media posts directly from Canva. This eliminates the need for separate scheduling tools and streamlines your workflow. Plan and design your posts all in one place, and then set them to go live on your chosen dates.
How to Do It:
- Head over to the “Content Planner” section on Canva’s homepage.
- Create your design and drag it onto the calendar on your preferred date.
- Schedule the post by selecting the platform and setting the time. Canva will take care of the rest, posting it for you on the scheduled date. No more jumping between tools!
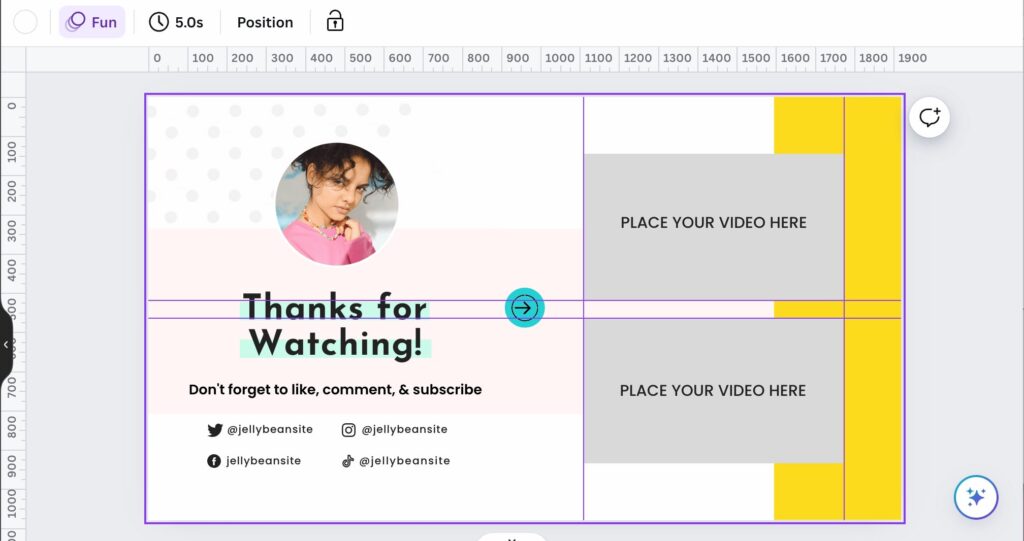
9. Group Elements for Easy Movement
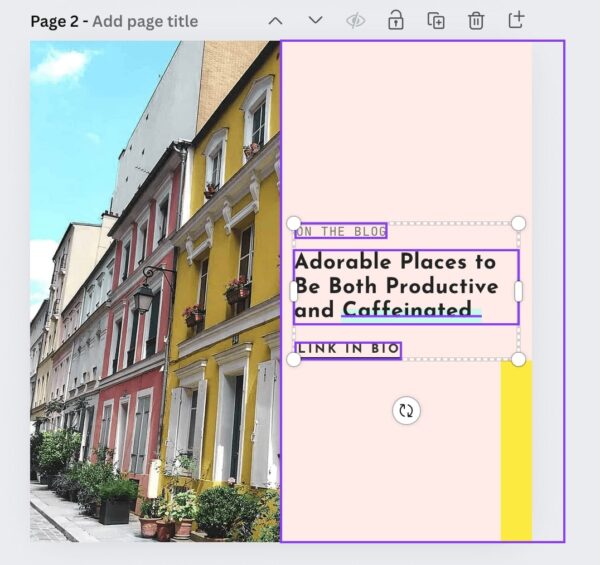
Working with multiple elements can get a bit chaotic, right? When working with multiple elements, grouping them can save you from the hassle of moving each one individually. Simply select the elements you want to group, right-click, and select “Group.” Now, you can move, resize, or adjust the grouped elements as if they were a single object.
How to Do It:
- Select all the elements you want to group by clicking and dragging your cursor over them.
- Right-click and choose “Group” from the dropdown menu.
- Now you can move, resize, or duplicate the group as if it were a single element. It’s a real time-saver, especially for complex designs!
10. Search for Free Elements and Photos
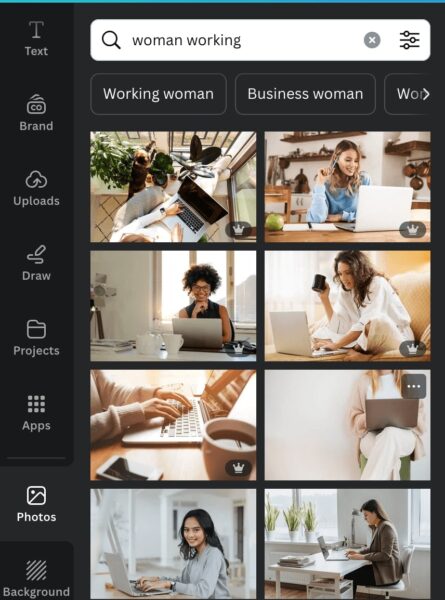
Don’t waste time searching the web for images or graphics—Canva’s got a treasure trove of free elements right at your fingertips. Instead of spending time searching for external resources, use Canva’s search bar to find what you need. Filter the results to show only free assets, and you’ll be able to quickly add high-quality visuals to your designs without leaving Canva.
How to Do It:
- Use the search bar in Canva to find what you need. Type in keywords like “free photos,” “icons,” or specific themes like “summer” or “business.”
- Filter the results by selecting “Free” under the price options. Now you can add high-quality visuals to your design without spending a dime or leaving Canva.
See? Designing doesn’t have to be a time-consuming chore. So go ahead, try out these tips, and let Canva do the heavy lifting while you focus on what you do best—running your awesome business.